Google Merchant Center - Textalk Abicart
What is Google Merchant Center?
Google Merchant Center is a free, web-based tool from Google where you upload and manage all the information about the products you sell—things like titles, descriptions, prices, images and availability.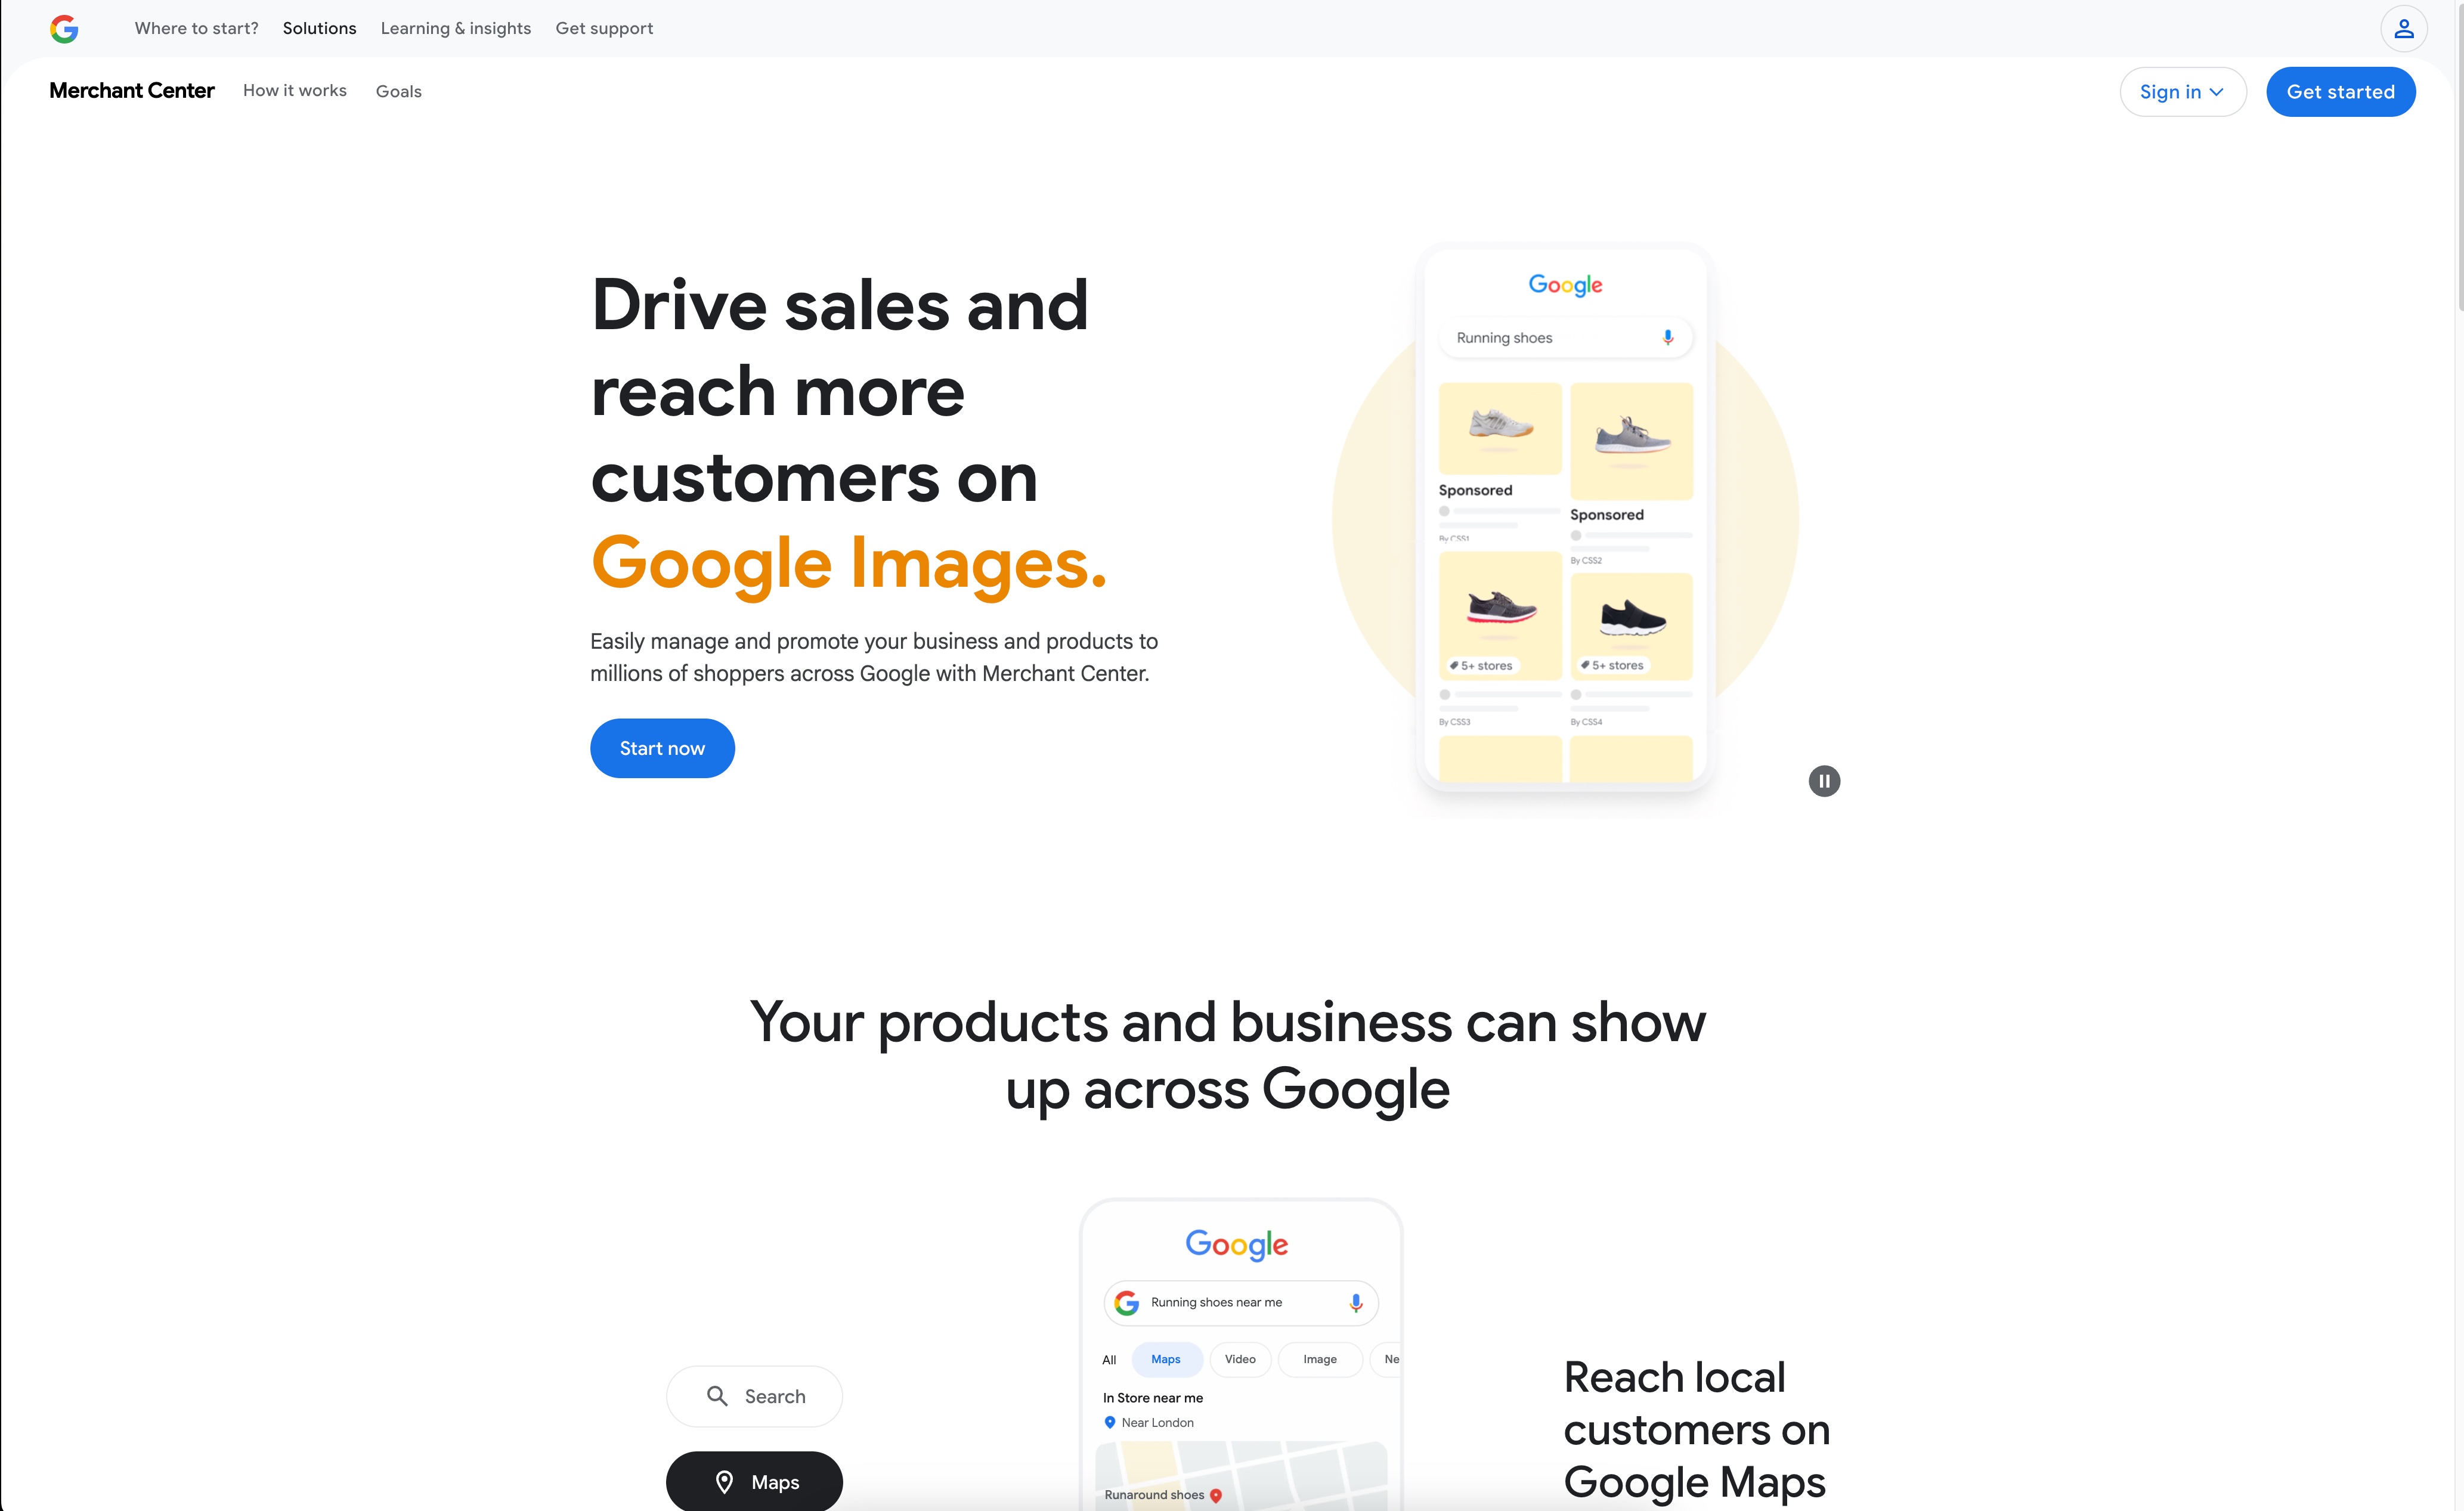
Why use it?
- Get your products on Google: Once your product data is in the Merchant Center, Google can show your items on Google Shopping, in free listings, and in paid Shopping ads.
- Keep product details up to date: Merchant Center lets you schedule regular updates (via a feed) so that Google always has your latest prices, stock levels and new products.
- Reach more customers: By making your products visible where people search, you increase the chance shoppers will discover your store and buy from you.
- Monitor performance and fix issues: You can see which products are approved, which have errors, and how they’re performing—so you can quickly correct any problems.
In short: Google Merchant Center is like a bridge that connects your online store’s product information with Google’s shopping platforms, helping shoppers find, compare and buy your products.
How to Set Up a Google Merchant Center Account
Prerequisites
Before you begin, make sure you have:
- A Google Account (Gmail or Google Workspace).
- An active website or online store URL you own (with HTTPS).
- (Optional) A Google Ads account if you plan to run Shopping campaigns.
Step 1: Sign In or Create a Google Account
1. Go to the Google Accounts page
- Visit https://accounts.google.com/signup
- If you already have a Google Account, click Sign in instead.
2. Fill in your details
- Enter your name, email address, and a secure password.
- Agree to Google’s Terms of Service and Privacy Policy.
Step 2: Access Google Merchant Center
1. Navigate to Merchant Center
- Open your browser and go to https://merchants.google.com
2. Sign in with your Google Account
- Click Sign in in the top right, then choose your account.
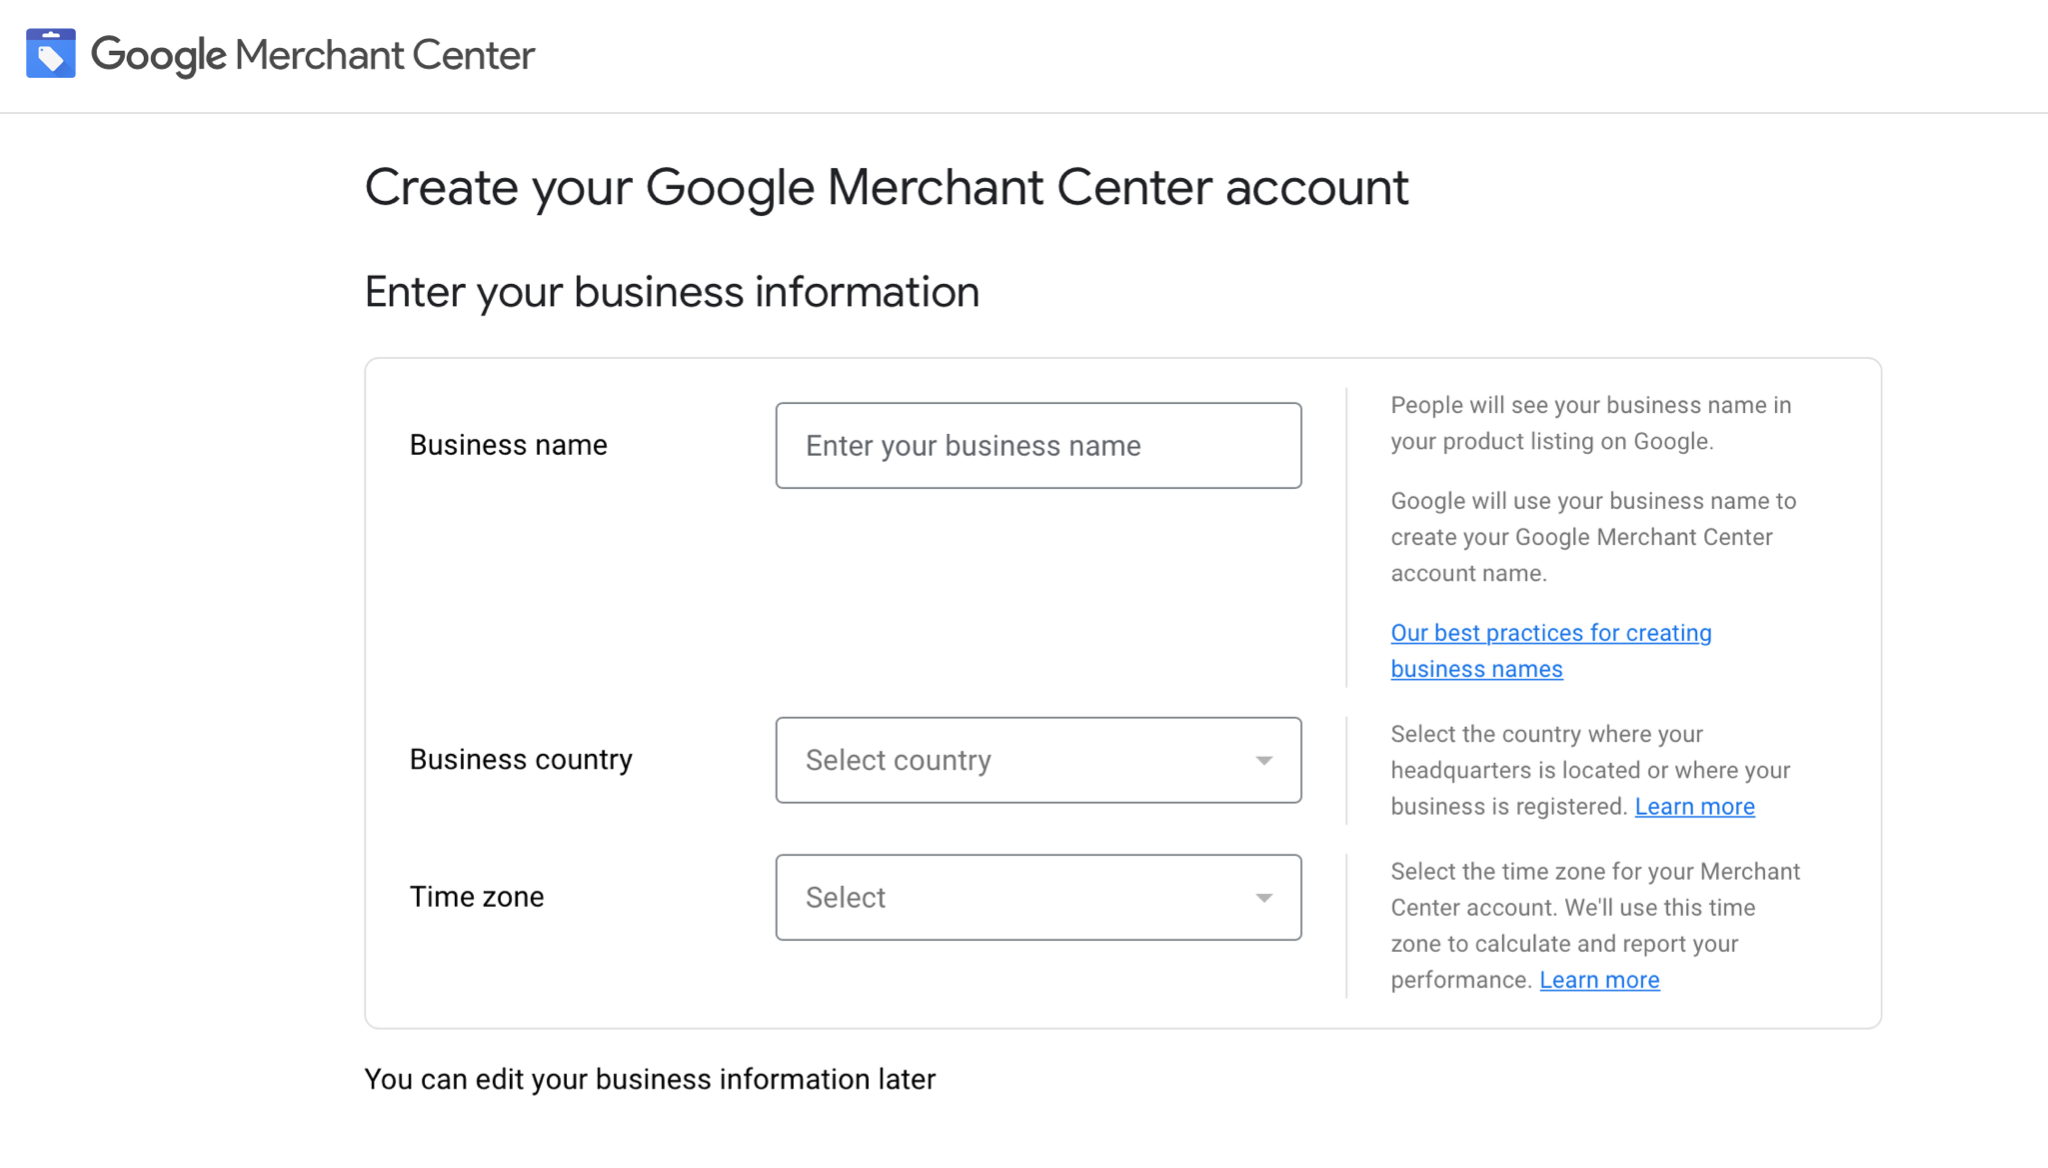
Step 3: Enter Business Information
1. Provide your business details
- Business name: Your store’s official name (will display in Shopping ads).
- Country of sale: The market where you’ll sell your products.
- Time zone: Ensures accurate reporting and scheduling.
2. Agree to program policies
- Read and accept the Google Merchant Center Terms of Service.
Step 4: Verify and Claim Your Website URL
1. Enter your website URL
- In the Merchant Center, go to Tools & settings → Business information → Website.
- Type your full domain (e.g., https://www.example.com).
2. Choose a verification method
- HTML file upload: Download Google’s file and upload to your site’s root directory.
- HTML tag: Add the <meta> tag to your <head> of the website.
- Google Analytics or Tag Manager: Use an existing GA4 or GTM setup.
3. Confirm verification and claim
- After implementation, click Verify URL.
- Once verified, click the Claim URL to reserve it for your Merchant Center account.
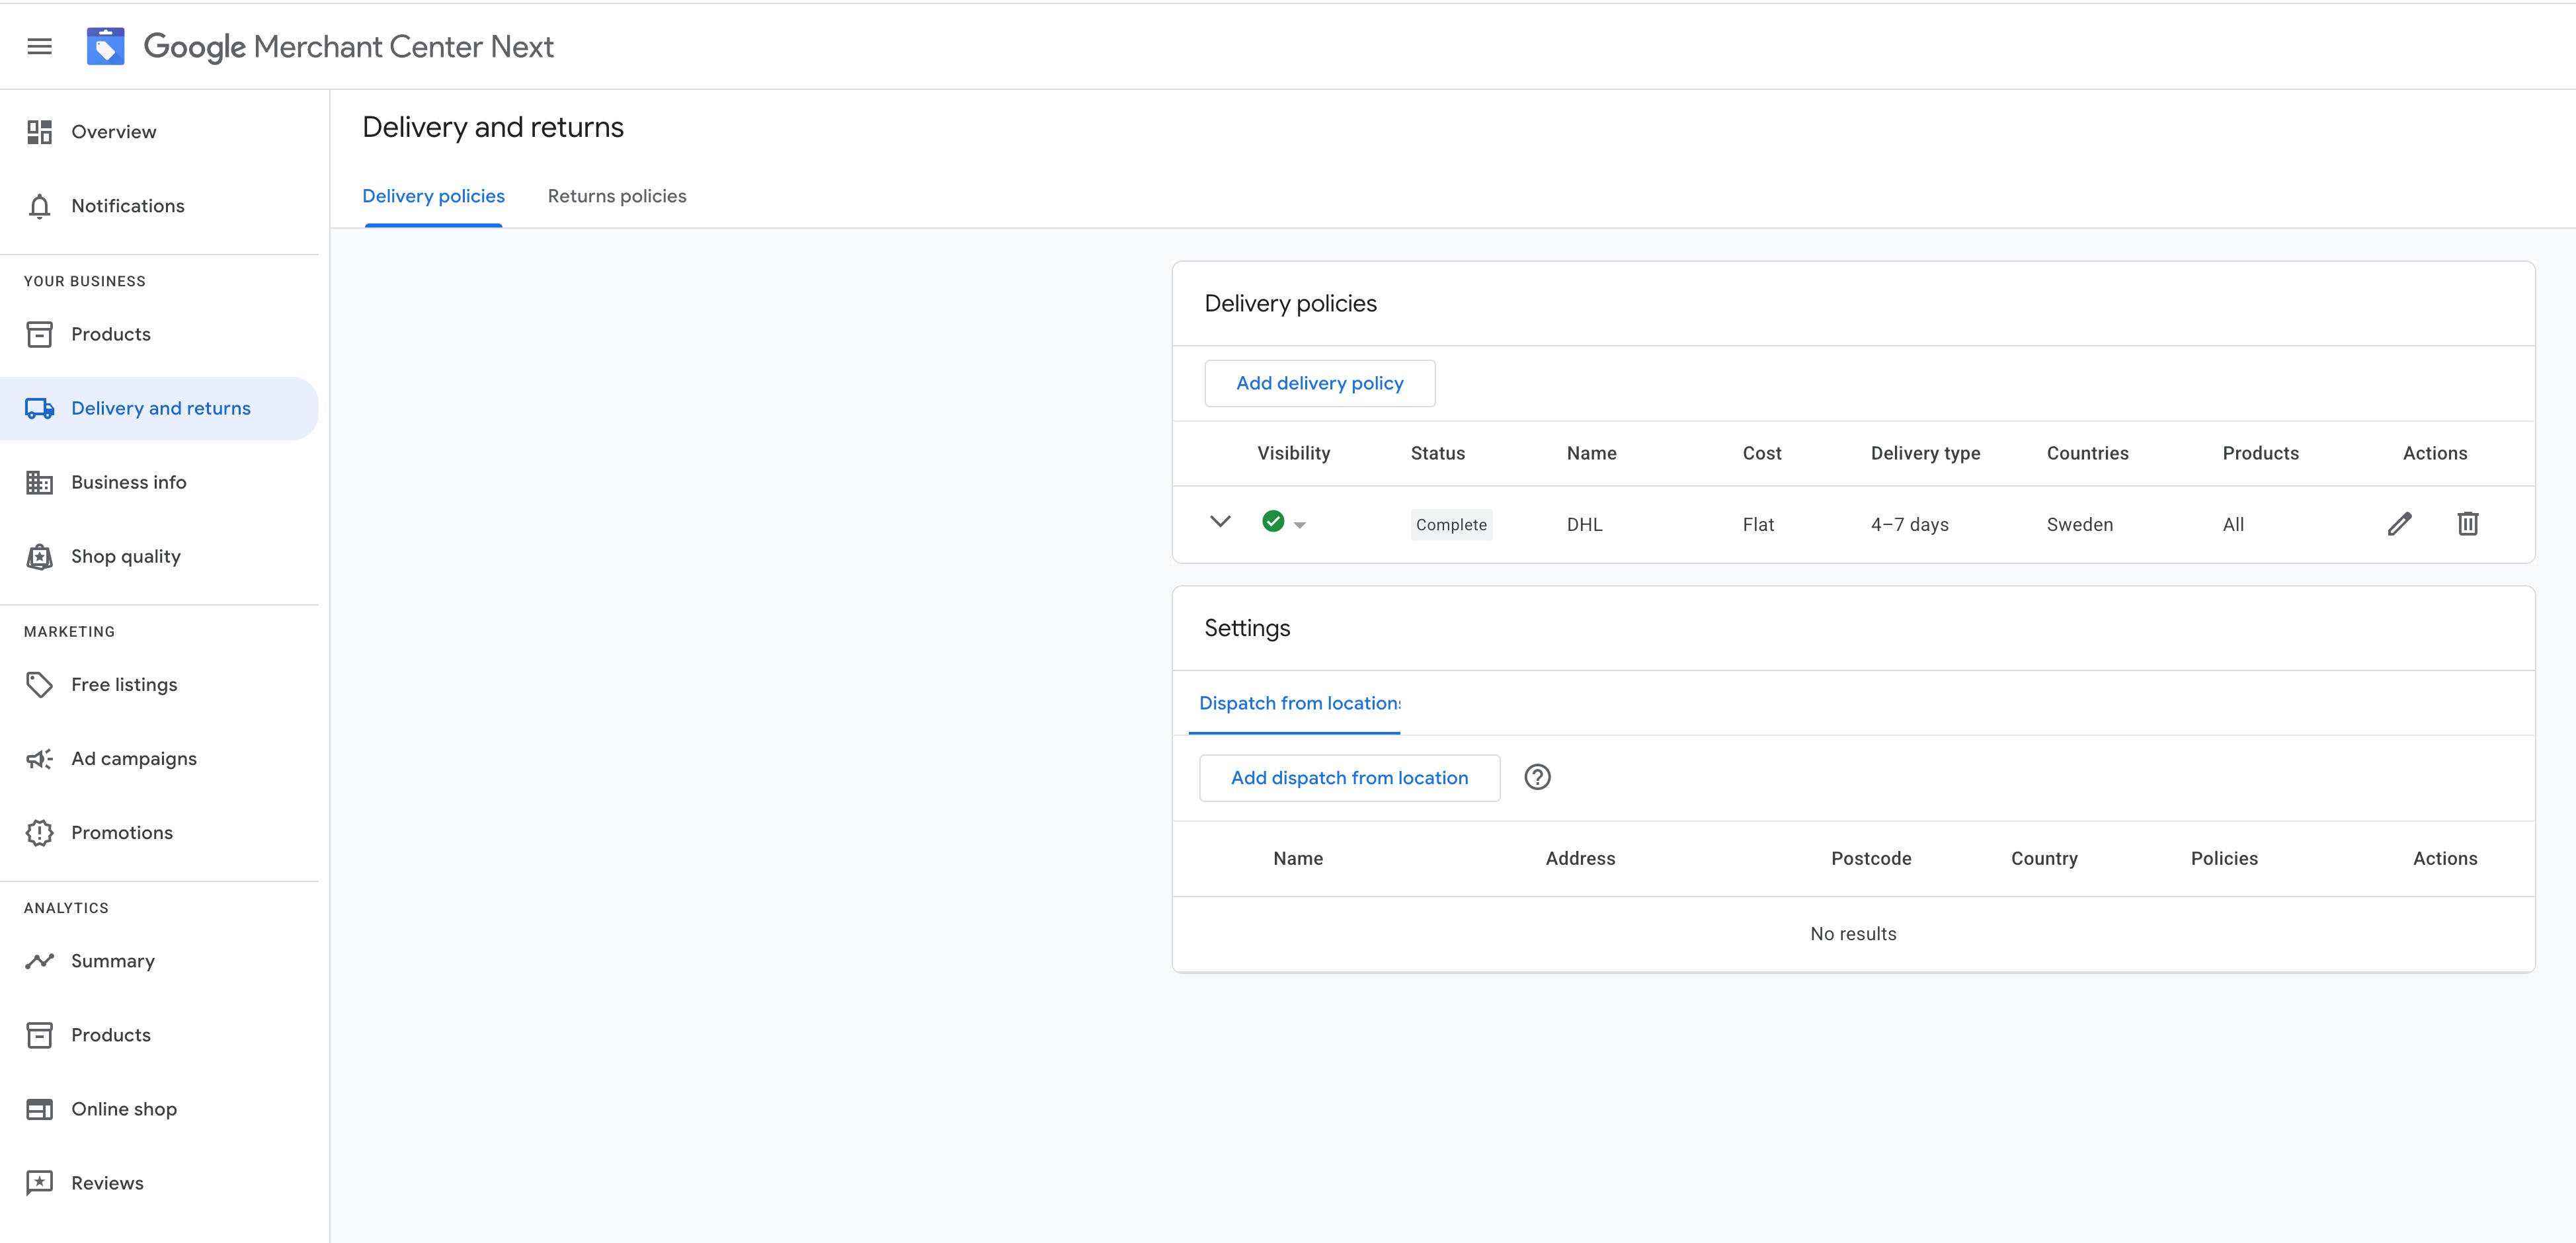
Step 5: Set Up Shipping
1. Configure shipping settings
- Go to Tools & settings (wrench icon) → Shipping and returns.
- Click + Add shipping service: define transit times and cost rules.
Final Review and Next Steps
- Review your business details, website claim, and shipping/tax setup.
- Upload your first product feed.
Resources & Links
- Sign up for Google Merchant Center: https://merchants.google.com
- Verify & Claim Website: https://support.google.com/merchants/answer/176793
- Shipping Settings Guide: https://support.google.com/merchants/answer/12577710
- Link Google Ads: https://support.google.com/merchants/answer/12499498